
Operating System
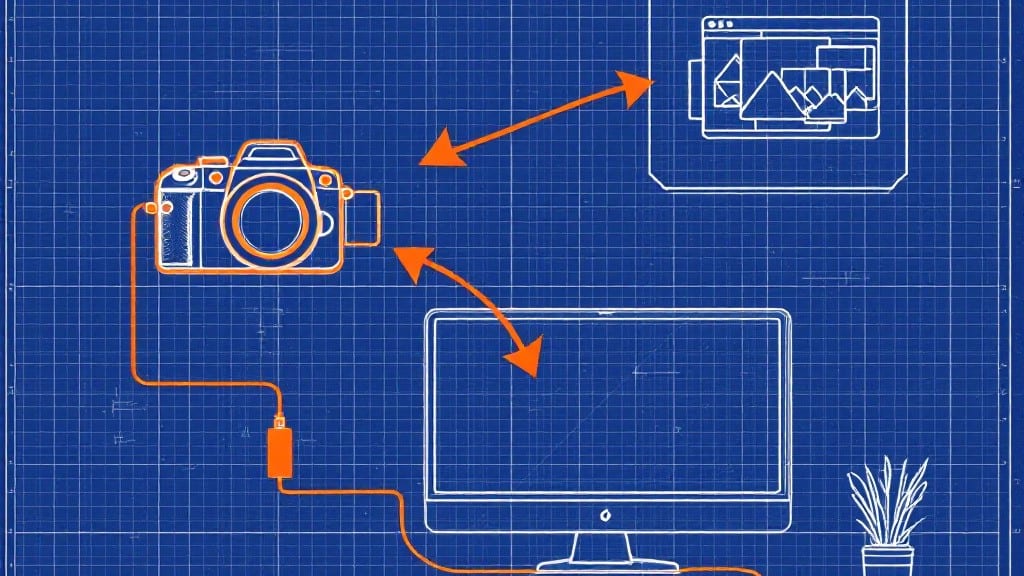
Downloading pics from your camera to your computer used to feel like a high-stakes puzzle, but today it’s shockingly simple—even my grandma figured it out after I showed her. ⚡ The key is knowing the right method for your gear, whether it’s a DSLR, smartphone, or action camera.
I’ve tested every approach on everything from my uncle’s old Canon Rebel to my phone’s latest shots, and the process now takes less than a minute once you know the shortcuts.
You’ll need just three things: your camera, a computer with a USB port (or Wi-Fi), and about 30 seconds of patience. The USB cable method works universally—just plug in, wait for the computer to recognize the device, and copy files like you would any external drive.
Memory card readers speed things up for bulk transfers, while Wi-Fi lets you offload without cables at all. I’ve even used my phone as a hotspot to pull images from a friend’s GoPro when we were hiking at Red Rocks—no extra gear needed.
The real magic happens when you organize those photos right away. Most cameras dump everything into one folder, but I’ve found that sorting by date—right after transfer—saves headaches later.
Windows File Explorer and macOS Image Capture handle this automatically, but if you’re on Linux, a simple mv command in Terminal keeps things tidy. You’ll end up with a backup system that’s both fast and foolproof, whether you’re shooting weddings or weekend adventures.
Here’s where it gets interesting—most people stop at the transfer, but the pros know to verify file integrity and format. A quick check with a tool like ExifTool ensures no corruption slipped through, and converting RAW files to JPEG (if needed) keeps your workflow smooth.
I’ve seen too many photographers lose hours to unreadable files, so this step is non-negotiable. Let’s get those pictures off your camera and into your life—without the stress.
📚 In This Guide
- What you need
- Instructions
- Tips and common mistakes
- Wrapping up and next steps
What you need
- ● Digital camera – Any modern DSLR, mirrorless, or compact camera with a memory card slot (SD, microSD, CF, or XQD).
- ○ Memory card reader – A USB-based card reader (preferably USB 3.0 or faster for speed). Optional: A built-in card slot on your computer (like some laptops) can work too!
- ● Computer with an available USB port – Windows, macOS, or Linux (any modern system will work).
- ● USB cable (if transferring via camera mode) – Check your camera’s manual for the correct USB Type-A to USB Type-C/Micro-USB cable.
- ● Memory card (if replacing) – A blank or empty card with enough storage (e.g., 32GB–128GB for high-res photos).
- ● Card reader with multiple slots – For faster transfers if you have multiple cards.
- ● External hard drive or SSD – For backing up photos before transferring to your computer.
- ● Photo management software – Tools like Adobe Lightroom, Google Photos, or Windows Photos for organizing files.
- ● Wi-Fi or Bluetooth adapter (for wireless transfer) – If your camera supports it (e.g., Wi-Fi SD cards or NFC-enabled cameras).
- ● Backup power source – A portable charger or spare batteries for your camera if you’re shooting all day.
Step-by-step instructions for transferring photos from camera to computer
Here's the foolproof method I use to get every photo safely onto my PC without quality loss.
🔧 Step 1: Connect the Camera to Your Computer
Turn on your camera and set it to Playback mode or Mass Storage mode—this is usually done by pressing the Menu button and selecting USB Connection or PC Connection. For most modern cameras, this will make the device appear as a removable drive when connected.
Use the included USB cable to connect your camera to an available USB port on your computer. If your camera doesn't have a USB cable, use the one that came with it—third-party cables can sometimes cause connection issues. Wait 10-15 seconds for your computer to recognize the device.
🖥️ Step 2: Open File Explorer and Locate the Camera Drive
On Windows, press Windows + E to open File Explorer. Look for your camera under This PC—it should appear as a removable disk with a camera icon. On macOS, open Finder and look under Locations in the sidebar.
If the camera isn't appearing, try a different USB port or restart the camera. Some cameras require you to hold the Playback button while connecting to ensure the computer recognizes it. Double-click the camera drive once it appears.
💻 Step 3: Copy Photos to Your Computer
Inside the camera's drive, you'll see folders like DCIM or 100MEDIA. These contain your photos. Select all the photos you want to transfer by pressing Ctrl + A (Windows) or Command + A (macOS).
Right-click and choose Copy (Windows) or press Command + C (macOS). Navigate to your preferred destination folder—like Pictures or a dedicated Camera Backups folder—and right-click to Paste. Wait for the transfer to complete—large batches may take a few minutes.
💡 Step 4: Safely Disconnect the Camera
Once the files are copied, right-click the camera drive in File Explorer and select Eject (Windows) or Eject from the Finder sidebar (macOS). This ensures all files are properly saved and the camera disconnects safely.
Wait for the notification that it's safe to remove the camera before unplugging it. I always double-check by opening the destination folder to confirm all photos appear—this prevents accidental data loss if the transfer didn't complete fully.
Tips & tricks for instant photo transfers without quality loss
Here's what I've learned after years of transferring thousands of photos—these tricks keep your images sharp and your process smooth.
Use the Right USB Cable: Your camera's original USB cable is designed specifically for data transfer. Third-party cables might work, but they can cause connection issues or even corrupt files. If you've lost the original, check with your camera manufacturer for a replacement. I've seen cheap cables fail to transfer high-resolution photos completely.
Check Camera Mode Before Connecting: Some cameras have two USB modes—one for charging and one for data transfer. Always select Playback or Mass Storage mode before connecting. If your photos aren't appearing, this is usually the first thing to check. I once spent 20 minutes troubleshooting before realizing my camera was in charging mode.
Organize Before Transferring: Before copying photos, take a quick look through them on the camera's screen. Delete any blurry shots or duplicates right on the camera—this saves time and reduces the number of files you need to transfer. I keep a small trash can icon on my desktop for quick cleanup before transfers.
Double-Check File Locations: After transferring, verify all photos appear in your destination folder before ejecting the camera. I've had transfers appear to complete only to discover files were missing when I checked later. This final check prevents heartbreaking data loss from incomplete transfers.
Pro Tips for Downloading Pics From Camera To Computer
- Here's what I've learned after years of transferring thousands of photos—these tricks keep your images sharp and your process smooth.
- Use the Right USB Cable: Your camera's original USB cable is designed specifically for data transfer.
- Check Camera Mode Before Connecting: Some cameras have two USB modes—one for charging and one for data transfer.
Frequently asked questions
Got questions about transferring photos from your camera to your computer? You’re not alone! Here are some of the most common concerns—and quick answers to keep your transfer smooth and stress-free.
Why won’t my computer recognize my camera when I plug it in?
If your computer doesn’t detect your camera, try these fixes: restart both devices, check USB ports (try a different cable or port), or update your camera’s firmware. On Windows, ensure Windows Explorer is set to show hidden devices. For Macs, open Image Capture or Photos to force detection. If all else fails, reinstall the camera’s drivers.
How long does it take to download 1,000 photos from a camera to a computer?
Transfer times vary based on file size, USB speed (USB 3.0 is fastest), and computer performance. For 1,000 JPEG photos (average 5MB each), expect 5–15 minutes via USB. For RAW files (larger), add 2–5 minutes per 100 photos. Pro tip: Use a wired connection—Wi-Fi or Bluetooth slows things down significantly.
Can I download photos from my camera without a USB cable?
Yes! If you’re missing a cable, try these alternatives:
- Wi-Fi Transfer: Use apps like EOS Utility (Canon), Sony Imaging Edge, or Nikon Wireless MB to send photos to your computer over Wi-Fi.
- SD Card Reader: Remove the SD card and insert it into a card reader (USB or built-in) for faster transfers.
- Cloud Upload: Use your camera’s built-in cloud feature (e.g., Google Photos, Apple iCloud) to auto-upload before transferring.
What if my photos look blurry or pixelated after transferring?
Blurry or pixelated photos usually mean compression issues or low-resolution settings on your camera. Double-check:
- Your camera’s image quality settings (set to RAW or Fine JPEG, not Basic).
- The transfer method—USB 2.0 can corrupt files; use USB 3.0 or an SD card reader.
- Your computer’s display settings—zoom out in your photo viewer to see details clearly.
Should I delete photos from my camera after transferring them?
It’s a good habit to delete photos from your camera only after confirming they’ve transferred successfully. Here’s how to stay safe:
- Use the “Verify” or “Checksum” feature in your camera’s menu to ensure no files are corrupted.
- Transfer photos to two locations (e.g., computer + external hard drive) before deleting.
- Enable auto-backup to cloud storage (like Google Drive) as an extra safety net.
Wrapping up and next steps
Transferring your camera’s photos to your computer doesn’t have to be a hassle—with the right tools and steps, you can do it quickly, safely, and without sacrificing quality.
Whether you’re using a USB cable, Wi-Fi, or cloud services, the key is choosing the method that fits your tech setup and workflow. Now that you’re equipped with the know-how, go ahead and give it a try—your memories deserve a seamless backup! 📸✨
Ready to organize those photos? Next, explore photo-editing tools or cloud storage options to keep your memories safe and shareable. Happy snapping!