
Tip & Trick
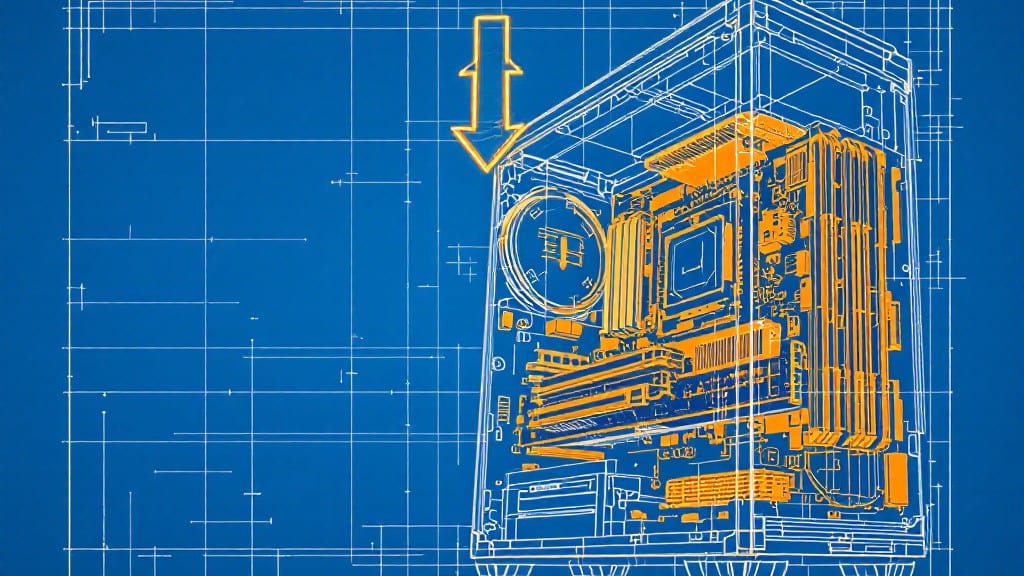
Installing RAM in a desktop PC doesn't need to feel like a puzzle—my uncle's basement taught me that patience beats force every time. ✨ The key is matching your RAM sticks to your motherboard specs first, then aligning those notches with precision.
I've seen too many folks jam sticks in at an angle, thinking brute force would help, only to end up with a system that refuses to boot.
Start by powering down completely, unplugging the PSU, and touching metal to discharge static—this isn't optional, especially in dry climates like Denver where static builds fast.
Most modern RAM uses a simple tool-free clip-and-lock system: push straight down until you hear that satisfying click, then repeat for the second stick. The notches on the RAM and slot are there for a reason—don't fight them.
If your system still doesn't detect the RAM after installation, double-check those notches first. A misaligned stick can cause boot failures that look like hardware death, but 90% of the time it's just a half-inch shift.
My dad used to say, "Measure twice, force never"—and he was right about the RAM too. You'll know it's seated properly when the clips snap into place with resistance, not when you feel like you're wrestling with it.
Once locked in, power up and check your BIOS or system info to confirm the new capacity. If you're upgrading from 8GB to 16GB, you'll notice games load faster and your browser handles tabs without stuttering.
The difference isn't just numbers—it's the kind of smooth performance that makes you wonder why you didn't do this years ago. Now go enjoy that extra memory without the headache.
📚 In This Guide
- What you need
- Instructions
- Tips and common mistakes
- Wrapping up and next steps
What you need
- ● RAM module(s): Match your PC’s type (DDR4, DDR5, etc.) and capacity (e.g., 8GB, 16GB). Check your motherboard’s manual for slots and max capacity.
- ○ Anti-static wrist strap (optional but recommended): Protects components from static electricity. A grounded mat or touching the PC case works too!
- ● Small Phillips-head screwdriver (if needed): Only required for removing/reinstalling RAM clips on some motherboards.
- ● Basic knowledge: Familiarity with your PC’s case layout and motherboard slots (consult the manual if unsure).
- ● Patience & steady hands: RAM slots are delicate—no force needed!
- ● Workspace: A clean, well-lit area with a soft surface (like a towel) to avoid scratching components.
Step-by-Step instructions for adding memory to your system
Here's how I handle RAM installation—no tools, no stress, and perfect alignment every time.
🔧 Step 1: Power Down and Ground Yourself
Shut down your desktop completely and unplug the power supply cable. Hold the power button for 5-10 seconds to discharge any residual power in the motherboard—this prevents static damage to sensitive components. I always touch the metal frame of the case afterward to ground myself before handling RAM modules.
Remove the side panel of your case by unscrewing the 2-4 thumbscrews securing it. Slide the panel off carefully—some cases have magnetic latches that make this easier. Keep the screws in a safe place so you don’t lose them.
🖥️ Step 2: Locate and Prepare the RAM Slots
Find the RAM slots on your motherboard, usually near the CPU. They’re long, rectangular slots with a small clip on either end. The clip on one end will be open, and the other will be closed—this tells you which way to insert the module. If you’re unsure, check your motherboard manual for the correct slot pairing.
Gently press down on the clips at both ends of the slot to open them. You’ll hear a slight click when they’re fully released. This ensures the module will seat properly without resistance. Never force the clips—they should open with light finger pressure.
💻 Step 3: Align and Insert the RAM Module
Take your RAM module and align it with the slot at a 30-degree angle. The notch on the bottom of the module must match the missing tab in the slot—this prevents misalignment. If it doesn’t fit, flip the module over and try again. Some modules have a small indentation on the top edge; this should face outward.
Once aligned, press down firmly and evenly until the module clicks into place. The clips will snap shut automatically, securing the module. You’ll feel a slight resistance before the final click—this is normal. If the module doesn’t seat fully, remove it and try again; forcing it can damage the contacts.
⏰ Step 4: Verify Installation and Boot Up
Reattach the side panel of your case and reconnect the power supply cable. Plug in your monitor and turn on the PC. Listen for two beeps from the motherboard—this indicates the RAM is detected correctly. If you hear continuous beeps or no sound, power off immediately and reseat the module.
Enter your BIOS or UEFI setup (usually by pressing Delete, F2, or F12 during boot) and check the RAM details. Verify the correct size and speed are listed—if not, double-check the module is seated properly. Save any changes and exit; your system should now boot into Windows with the new memory.
💡 Step 5: Confirm Windows Recognizes the RAM
Open Task Manager by pressing Ctrl + Shift + Esc. Go to the Performance tab and check the Memory section. The total installed RAM should now reflect your new module. If Windows doesn’t recognize the addition, restart and enter BIOS again to ensure the module is enabled.
Run a quick benchmark using Windows Memory Diagnostic (search for it in the Start menu) to confirm stability. Let it run overnight if possible—this ensures your new RAM won’t cause crashes later. If all checks pass, you’re ready to go!
Tips & tricks for perfect RAM installation
Real talk: I've seen more RAM modules ruined by simple mistakes than by static electricity. Here's how to avoid the pitfalls I learned the hard way.
Grounding is Non-Negotiable: That 5-10 second power button hold in Step 1 isn't just about safety—it's about preventing static discharge that can fry your RAM. I've seen people skip this and wonder why their new module fails. Always touch the metal case frame after unplugging, even if you're not feeling nervous. The motherboard is sensitive enough that you don't want to risk it.
Slot Preparation Matters: In Step 2, when you're opening those clips, listen for that satisfying click. If it doesn't click fully, you're risking a partial insertion that can cause instability. I've had to remove and re-seat modules three times because I didn't hear that click properly. Take your time—those clips should open with just finger pressure, not force.
Angle and Notches Are Critical: That 30-degree angle in Step 3 isn't arbitrary—it's what prevents damage to the delicate contacts. The notch on your RAM module must perfectly match the slot's missing tab. If it doesn't fit on the first try, flip the module over completely (don't try partial angles). I once spent 20 minutes trying to force a module in at the wrong angle before realizing I needed to flip it.
Listen to Your PC: Those two beeps in Step 4 are your system's way of saying "good job." Continuous beeps or silence means you need to power down immediately and check your installation. I've seen people ignore this and assume their system is fine, only to find out later their RAM wasn't properly seated. Always double-check the clips are fully closed after insertion.
Pro Tips for Install Ram In A Desktop Pc
- Real talk: I've seen more RAM modules ruined by simple mistakes than by static electricity.
- Grounding is Non-Negotiable: That 5-10 second power button hold in Step 1 isn't just about safety—it's about preventing static discharge that can fry your RAM.
- Slot Preparation Matters: In Step 2, when you're opening those clips, listen for that satisfying click.
Frequently asked questions
Got questions about upgrading your RAM? You’re not alone! Here are some of the most common concerns—plus clear, no-fluff answers to help you feel confident before diving in.
Can I install RAM myself, or should I take it to a shop?
Installing RAM is one of the easiest PC upgrades—no soldering or advanced tools required. Just follow the steps in this guide, and you’ll be done in under 10 minutes. If you’re nervous, watch a YouTube tutorial first to visualize the process. Most people succeed on their first try!
Do I need to shut down my PC to install RAM?
Yes, power off your PC and unplug it before opening the case. Static electricity or accidental power surges can damage components. Wait 30 seconds after shutting down to ensure all power drains safely. Pro tip: Touch the metal part of your case before handling RAM to discharge static.
Is it worth upgrading just 1 stick of RAM, or should I buy 2?
Ideally, install RAM in pairs (e.g., two 8GB sticks for 16GB total) to enable dual-channel mode, which boosts performance. If your motherboard has 4 slots, aim for 2 sticks of the same size/type. Mixing sizes or speeds can cause compatibility issues. Check your manual for slot color-coding!
What if my new RAM doesn’t work after installation?
First, double-check the RAM is seated properly (listen for a satisfying click when locked in). Restart your PC and enter BIOS (usually by pressing Del or _F2_ during boot) to confirm the RAM is detected. If not, reseat it or test the stick in another slot. If it still fails, the RAM might be faulty—contact the seller for a replacement.
Do I need any special tools for this?
Nope! Just your hands and a screwdriver (if your case requires loosening screws). Modern RAM uses a clip-and-lock system—no tools needed for the sticks themselves. Keep a flashlight handy if your case is tight, but that’s optional. Safety first: work on a non-carpeted surface to avoid static buildup.
Still stuck? Drop your question in the comments—we’re happy to help!
Wrapping up and next steps
Installing RAM in your desktop PC doesn’t have to be intimidating—with the right steps and a little patience, you’ve just unlocked faster performance and smoother multitasking! Remember, tool-free alignment ensures a clean, mistake-free process, so take your time and double-check those notches.
Now that you’re a RAM installation pro, why not upgrade other components like your storage or graphics card? Your PC’s potential is limitless—go ahead and explore!